Getting started with Vianova API
How to start using the API
Introduction
Vianova’s API makes it easy to get rich and clean micro-mobility data from your city. The API covers a broad range of use-cases including historical records, realtime statuses and statistical aggregation. Data access is fully secure and GDPR compliant.
Getting started
Create an account
Using the API requires authentication, thus you need a Vianova account. Your org manager can add you to an org using the following link https://cityscope.vianova.io/settings/users. You will be sent a confirmation email with a username and a password to change at your first connection. As soon as you have this username-password setup, you’re good to go! You are also able to login here: https://cityscope.vianova.io/login.
Retrieve data by sending requests
A summary of all the possible requests is available at https://developers.vianova.io/. It provides the host, paths, methods, headers, params, bodies, templates and responses templates for each request.
An authorization token is required to access most of the endpoints in the Vianova API. The authorization token is the "key" that allows the API to securely protect your org's information from public access and bad actors.
Below, we describe how to obtain an authorization token with your user's credentials in several different ways.
Make your first request
With OpenAPI portal
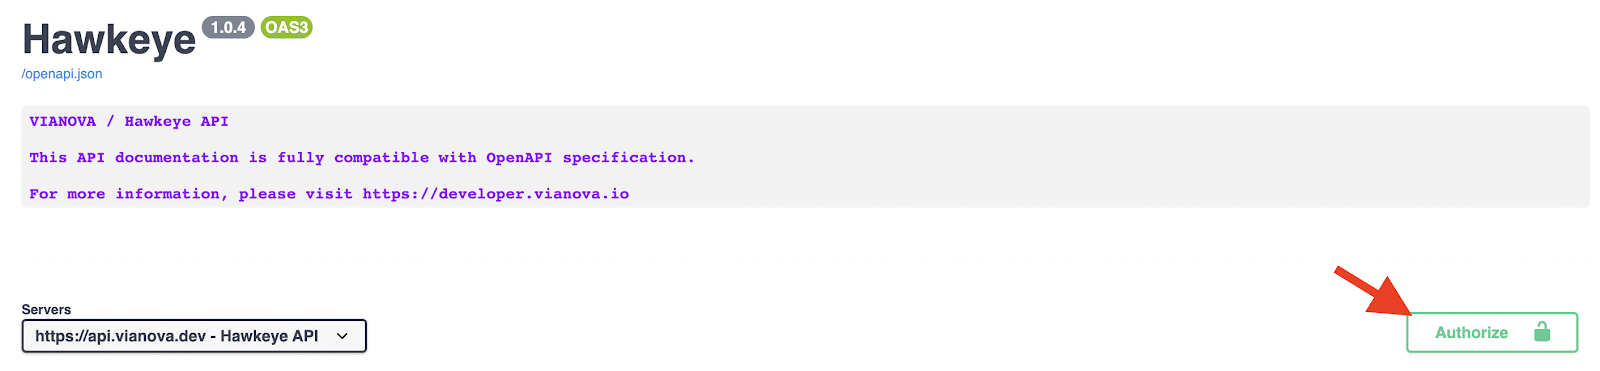
You can directly make requests from the documentation at https://api.vianova.dev/docs
Click Authorize on the right side.
Fill username and password and click Authorize and then Close
With Postman

Postman is a tool for API development and management. It makes it easy for you to import our API requests templates and retrieve data.
In Postman, click Import
Click on Link and input the link to the api documentation in Json format: https://api.vianova.dev/openapi.json
In Collections, open Hawkeye. All the pre-filled requests are available there. You first need to get a token, so click Token. Fill the username and password in the body and Send.
You can now send whichever request you want in the list. Change the values in the body if needed. In Authorization select Bearer Token and paste the token. In Params, add (key, value) = (baseUrl, https://api.vianova.dev) or directly in environment.
With Python
First, retrieve the bearer token with a POST request using your account credentials (username + password) in the body.
import requests

import json


host = "https://api.vianova.dev"

username = '[email protected]'

password = 'my-password'


path = '/token'

address = host + path

token = requests.post(address, data = {'username': username, 'password': password}).json()['access_token']
Now, you can make any request you want. For example to get the zone_id of your org:
def auth_headers():

  return {'Authorization': 'Bearer ' + token}

zone_id = int(requests.get(host + '/user/', headers = auth_headers()).json()['org'].split('/')[-1])
Data
After getting a JWT token, you should be able to make any API calls with your preferred client, let's talk about the data sources.
Sources
Micro-mobility providers such as bike or scooter rental companies share some fleet data. These feeds include both intrinsic descriptive information (e.g. device type and id) and real time location data.
At Vianova, we collect, clean and securely share this data with cities, while respecting GDPR standards. Thus, you can access both realtime and historical micro-mobility data for your city, enriched with trips, "road-snapping" and statistics over various aggregation criteria (e.g. time, device-type, provider, day-of-week).
Datasets: Metrics
The /zone/<zone_id>/metrics endpoint provides aggregate statistics over arbitrary time-ranges. For example, the metrics endpoint can provide hourly/daily/weekly averages of fleet size, availability, and trip-count over a configurable start- and end-date.
They are aggregated by grouping parameters such as "provider", “device type”, “time resolution”.
-
metric_type: which kind of metric is given in value (e.g. “availability”, “fleet_size”)
-
grouping: grouping parameter (e.g. “day_of_week”, “provider”)
-
grouping_value: value taken by the grouping parameter (e.g. “bicycle”, “/providers/15”)
-
value: metric value
-
time: datetime
Datasets: Events
The /zone/<zone_id>/events endpoint returns individual events emitted from devices across all fleets within a zone. It allows "filtering" parameters to return only those events of interest, e.g., "all provider-drop-off events in the Ixelles district of Brussels in the month of May for providers Voi and Bird." Each event record contains the following fields:
-
event_time: timestamp of the event
-
position: latitude and longitude of the device when this event occurred
-
device_type: type of the device (e.g. “bicycle”, “scooter”)
-
device_state: state of the device (e.g. “available”, “operational”)
-
event_type: type of the event (e.g. “user_pick_up”, “low battery”)
-
provider: link to the provider
-
provider_device_id: external id of the device, it is unique by provider
-
next_position: latitude and longitude of the device at next event
-
next_event_time: timestamp of the next event
-
next_device_state: next state of the device
-
next_event_type: type of the next event
Case study
In order to help you, we have an open colab with shared code examples with simple use cases already covered by python algorithms :
Colab
Feel free to reach us if you have any technical questions.
Updated 8 months ago